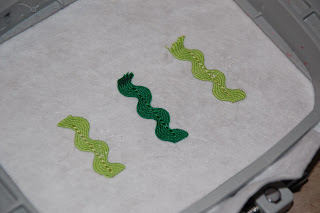
Let's be honest about the main reason I stayed away from rick rack.
I'm cheap. Rick rack is something else I'd have to buy AND store.
Anyway, back to using rick rack on your designs.
Stitch out your placement line.
See them on there? I can't really either.
Now, take a look at your rick rack.
You can do several things to seal or hide the frayed end including fray check.
Lovely stuff.
Line your rick rack OVER your placement line.
If part of the rick rack will be covered by an applique, make sure to leave enough extra so you won't have any peaking out under your design. Rick rack comes in different widths! You can trim after your covering applique placement line is stitched.
If you still want a clean edge for your rick rack, fold it under.
You can use adhesive spray to hold it in place or something else.
I "may" have used regular old tape. (cough, cough) No, I don't think that is approved for embroidery machines, but I was out of WSS and didn't want my foot getting caught on anything while stitching.
Stitch out your tackdown lines.
Let's hear the "ahh's" now.
Remove your covering.
Just pretend this is wss and that I wasn't gumming up my needle.
And continue.
I did not fold over the tops since I will cover them with some fabric.
Not a traditional applique stitching either!
Frayed!
This will end up the Frayed Heart Flower Trio Applique:
Now, does anyone know if it is "rick rack" or "ric rac?"


Thank you so much! I was overwhelmed with the steps for appliques section. I am so glad to see break down of each step. I am a visual. Need to see it in action step by step. Now I don't have to wait until Monday to call the help line.
ReplyDelete