
You have a design that you want to stitch but it takes up the whole field of your embroidery hoop and if you centered it traditionally, it would look off-center.
Have you been there?
All of the sudden you finish and you pull your item off the hoop and realize.........oops, it looks off-centered!

Here's an easy way to make sure your designs are always centered and it really only involves one (or two or three) extra step(s). If you have software, print off a 1:1 ratio template of your design. If you don't have software, go download WilcomTruesizer (FREE software to view and print and change file formats) and print off a 1:1 ratio template.

You will also need your garment, hoop, and grid.

Go ahead and add centering marks to your garment.
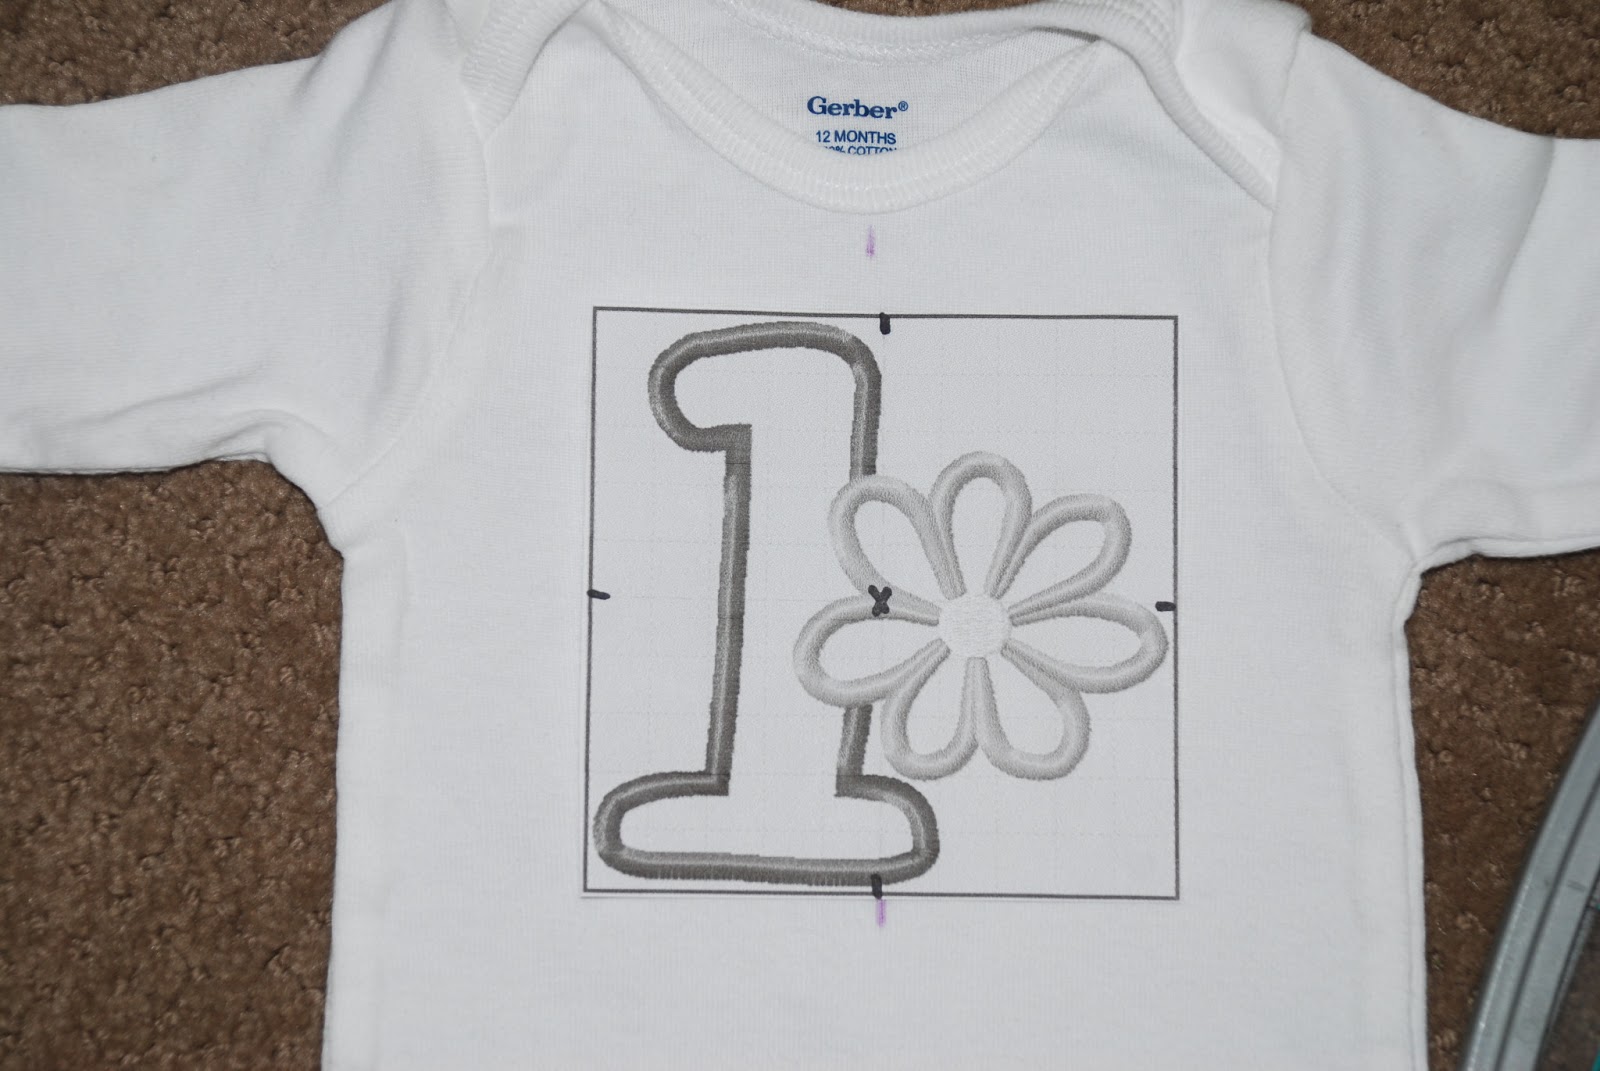
If I went ahead a stitched out this design based on centering the hoop on the garment, this would be the placement of the design. Technically centered but it also looks off-centered.

Instead, I want the #1 to be centered. I use the centering marks on my garment to center the #1.
Like so.
Like so.

I mark new spots to line up my design. You can use the grid on your template if you lay it on top. My template has nice little holes just for marking. Does yours?

Now put your grid in your hoop and line everything back up as you hoop. As you can see, the hoop is not centered anymore......
.
.
.
but the design will stitch out looking more centered!

No comments:
Post a Comment